728x90
반응형
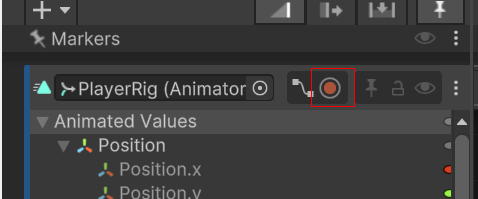
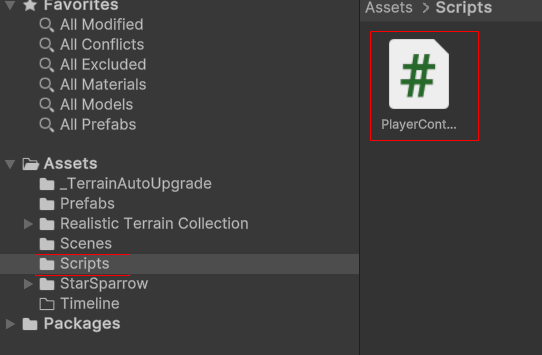
Enemy 스크립트 작성합니다
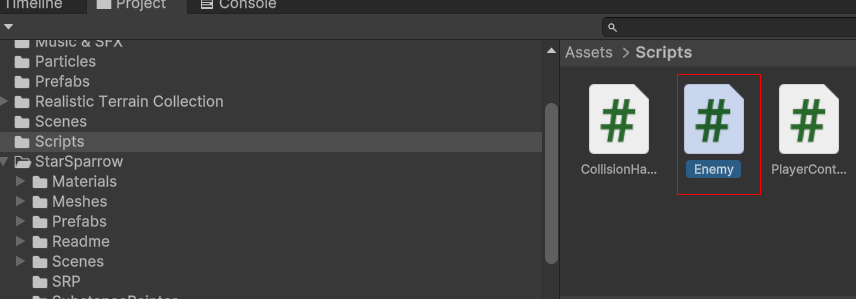
Enemy 스크립트를 작성
using System;
using System.Collections;
using System.Collections.Generic;
using UnityEngine;

public class Enemy : MonoBehaviour
{
    public GameObject deathVFX;
    public GameObject hitVFX;
    public Transform parent;
    public int scorePerHit = 15;
    public int hitPoint = 4;

    ScoreBoard scoreBoard;

    private void Start()
    {
        scoreBoard = FindObjectOfType<ScoreBoard>();
    }


    private void OnParticleCollision(GameObject other)
    {
        ProcessHit();
        //hitPoint 0 이하일때 적을 파괴한다
        if (hitPoint <1 )
        {
            KillEnemy();
        }

    }

    //점수를 증가한다
    private void ProcessHit()
    {
        GameObject vfx = Instantiate(hitVFX, transform.position, Quaternion.identity);
        vfx.transform.parent = parent;
        hitPoint--;
        scoreBoard.IncreaseScore(scorePerHit);
    }

    //외부 물체와 부딛칠때 이팩트생성한다.그리고 삭제
    private void KillEnemy()
    {
        GameObject vfx = Instantiate(deathVFX, transform.position, Quaternion.identity);
        vfx.transform.parent = parent;
        Destroy(gameObject);
    }


}
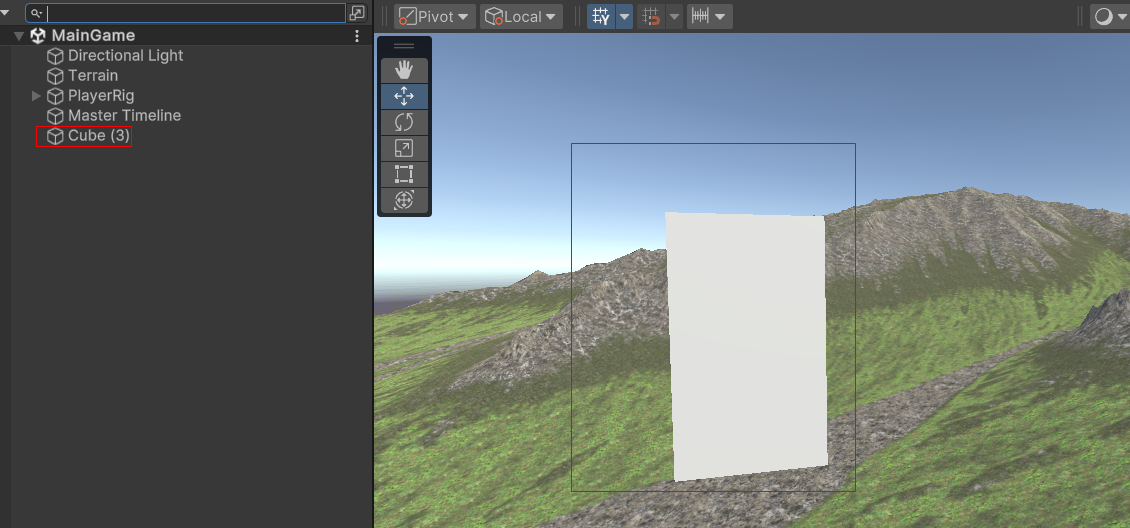
큐브(Cube) 이름을 Enemy로 바꿉니다
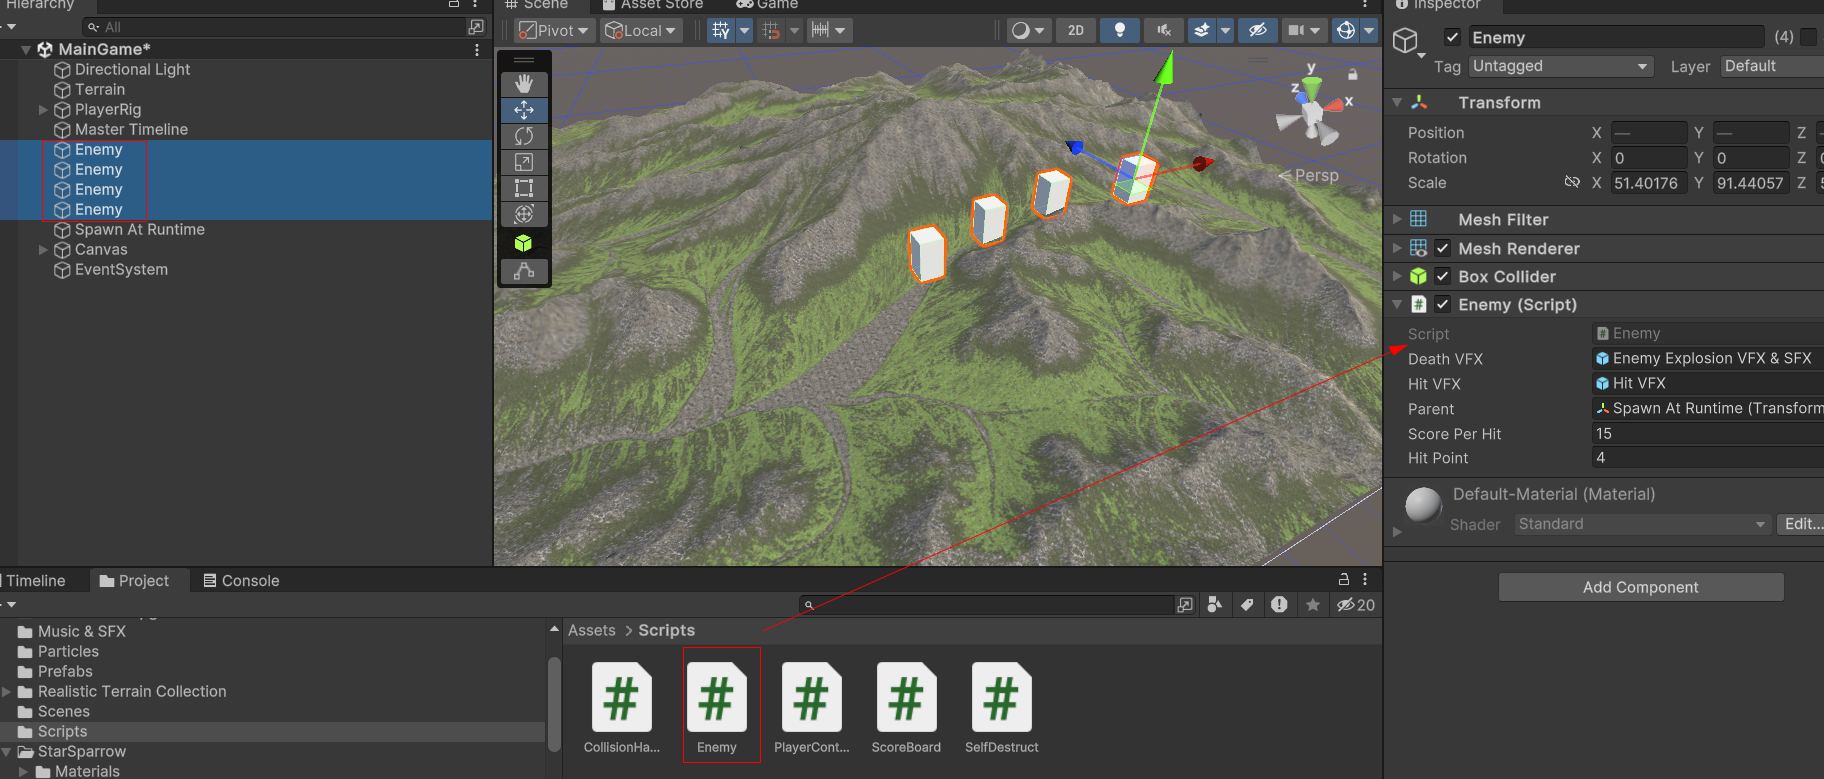
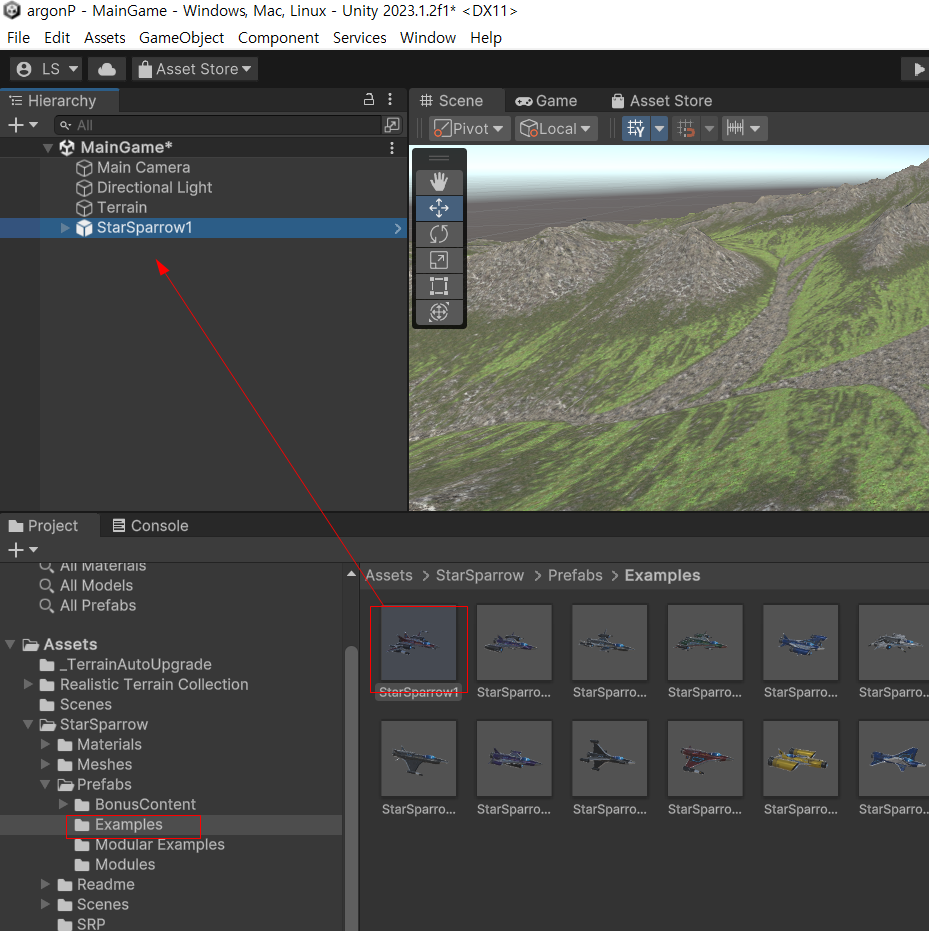
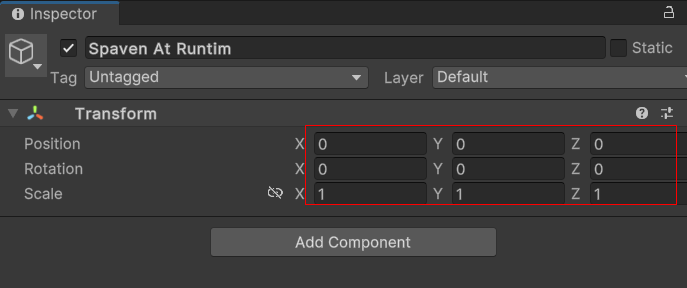
빈 오브젝트를 만들고 이름을 Spawn A Runtime으로 바꿉니다

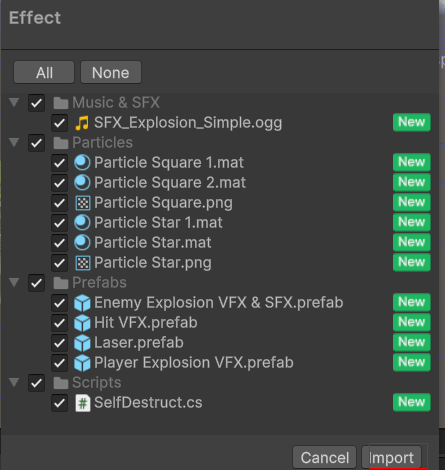
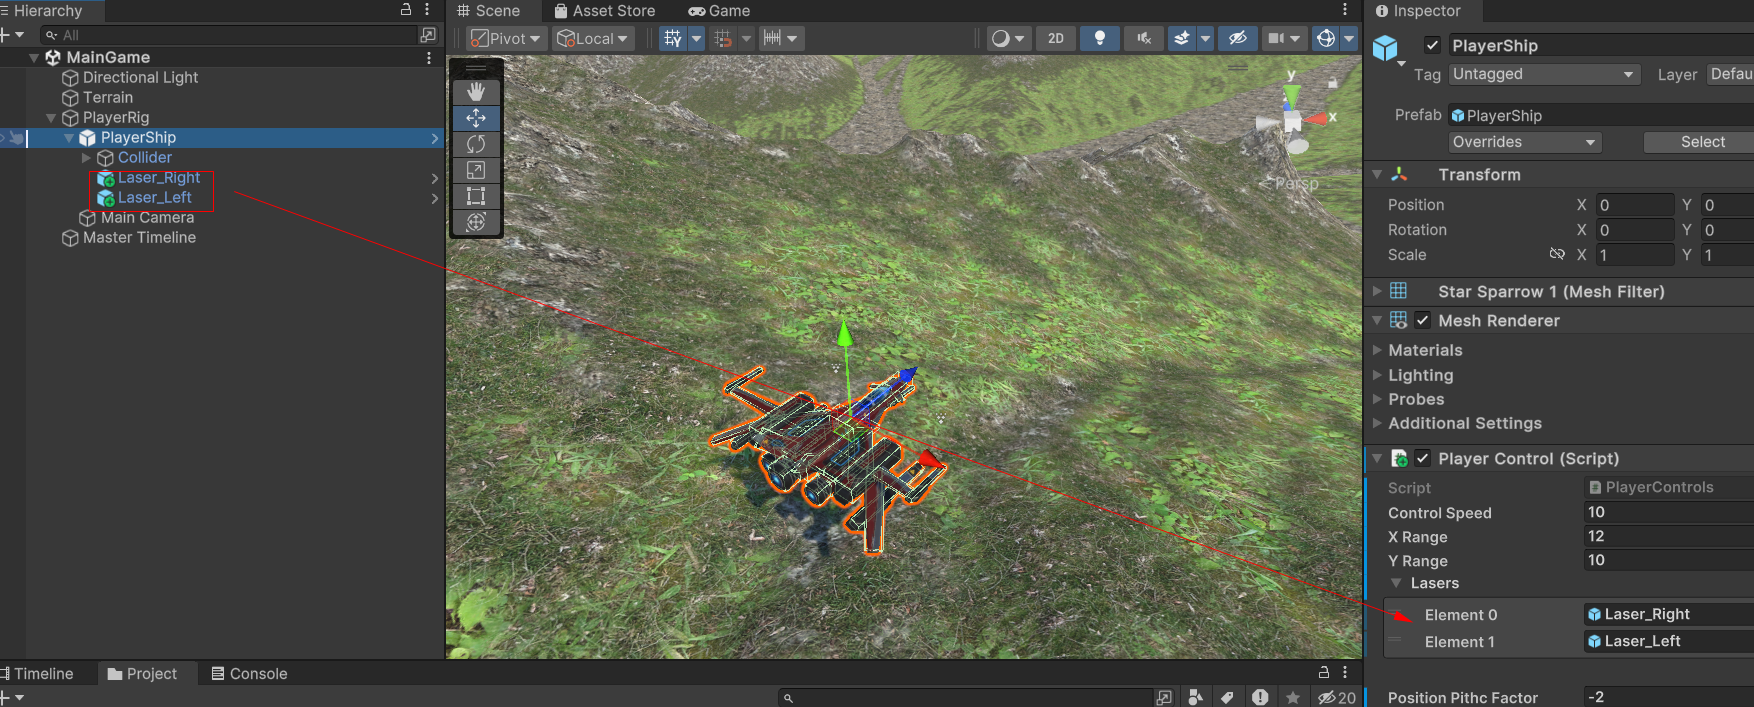
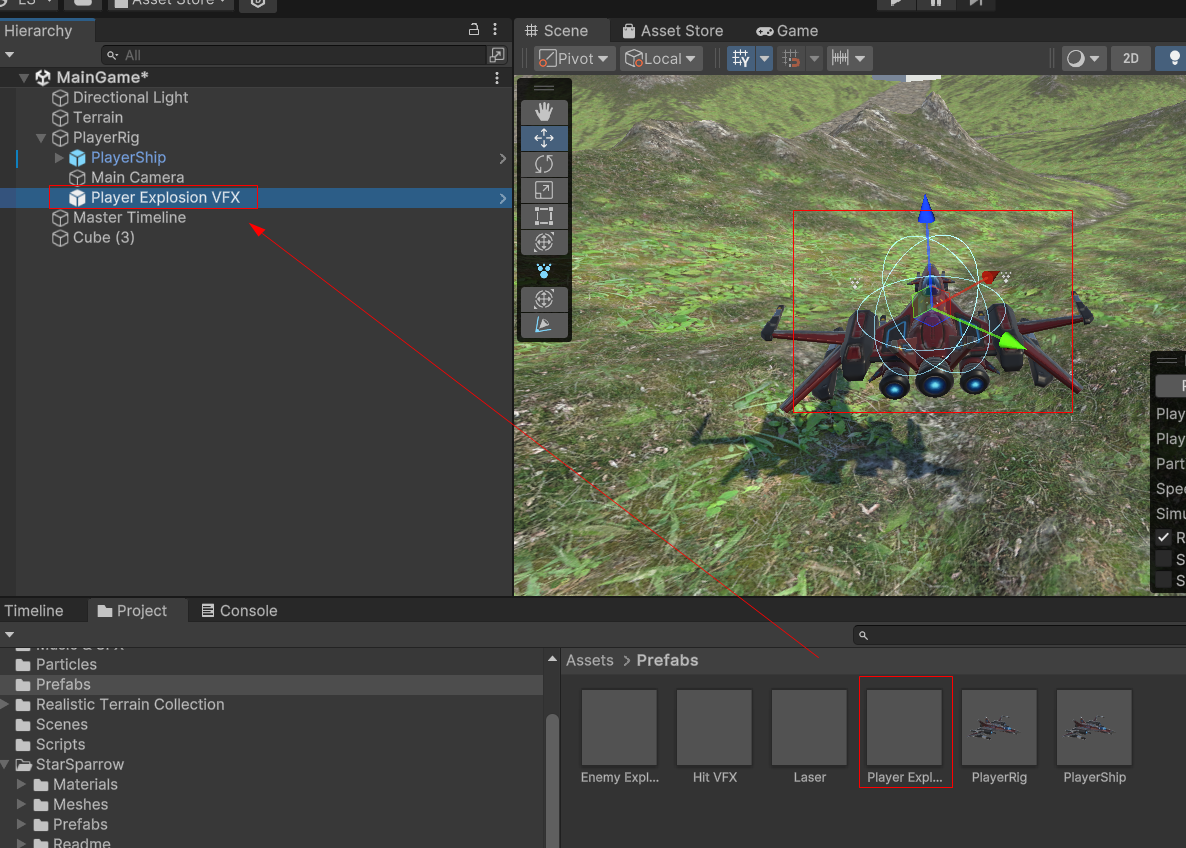
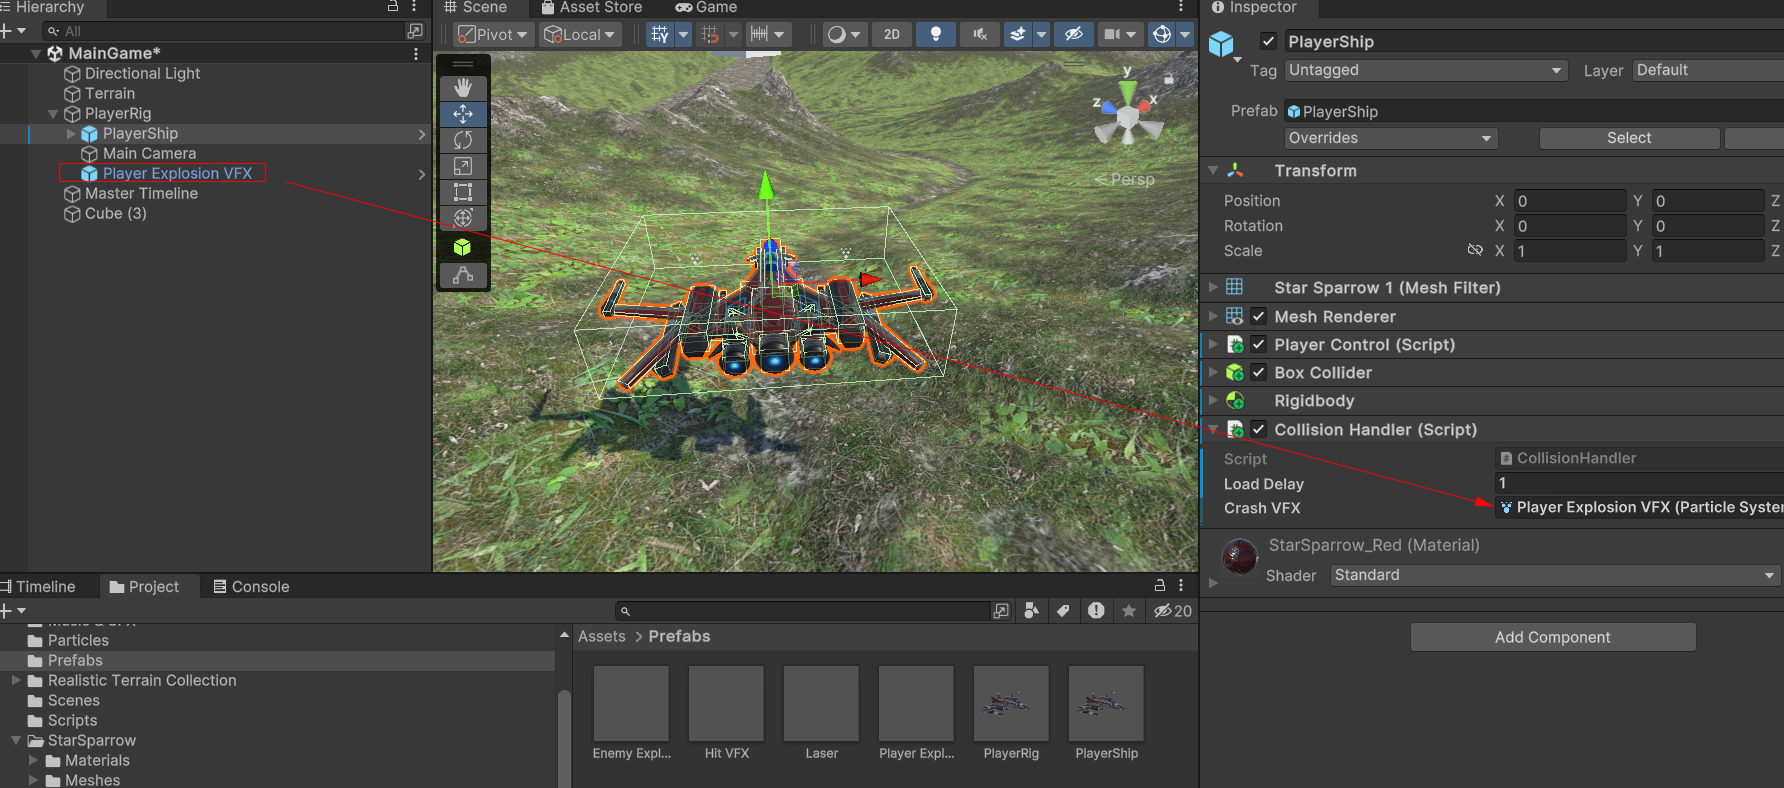
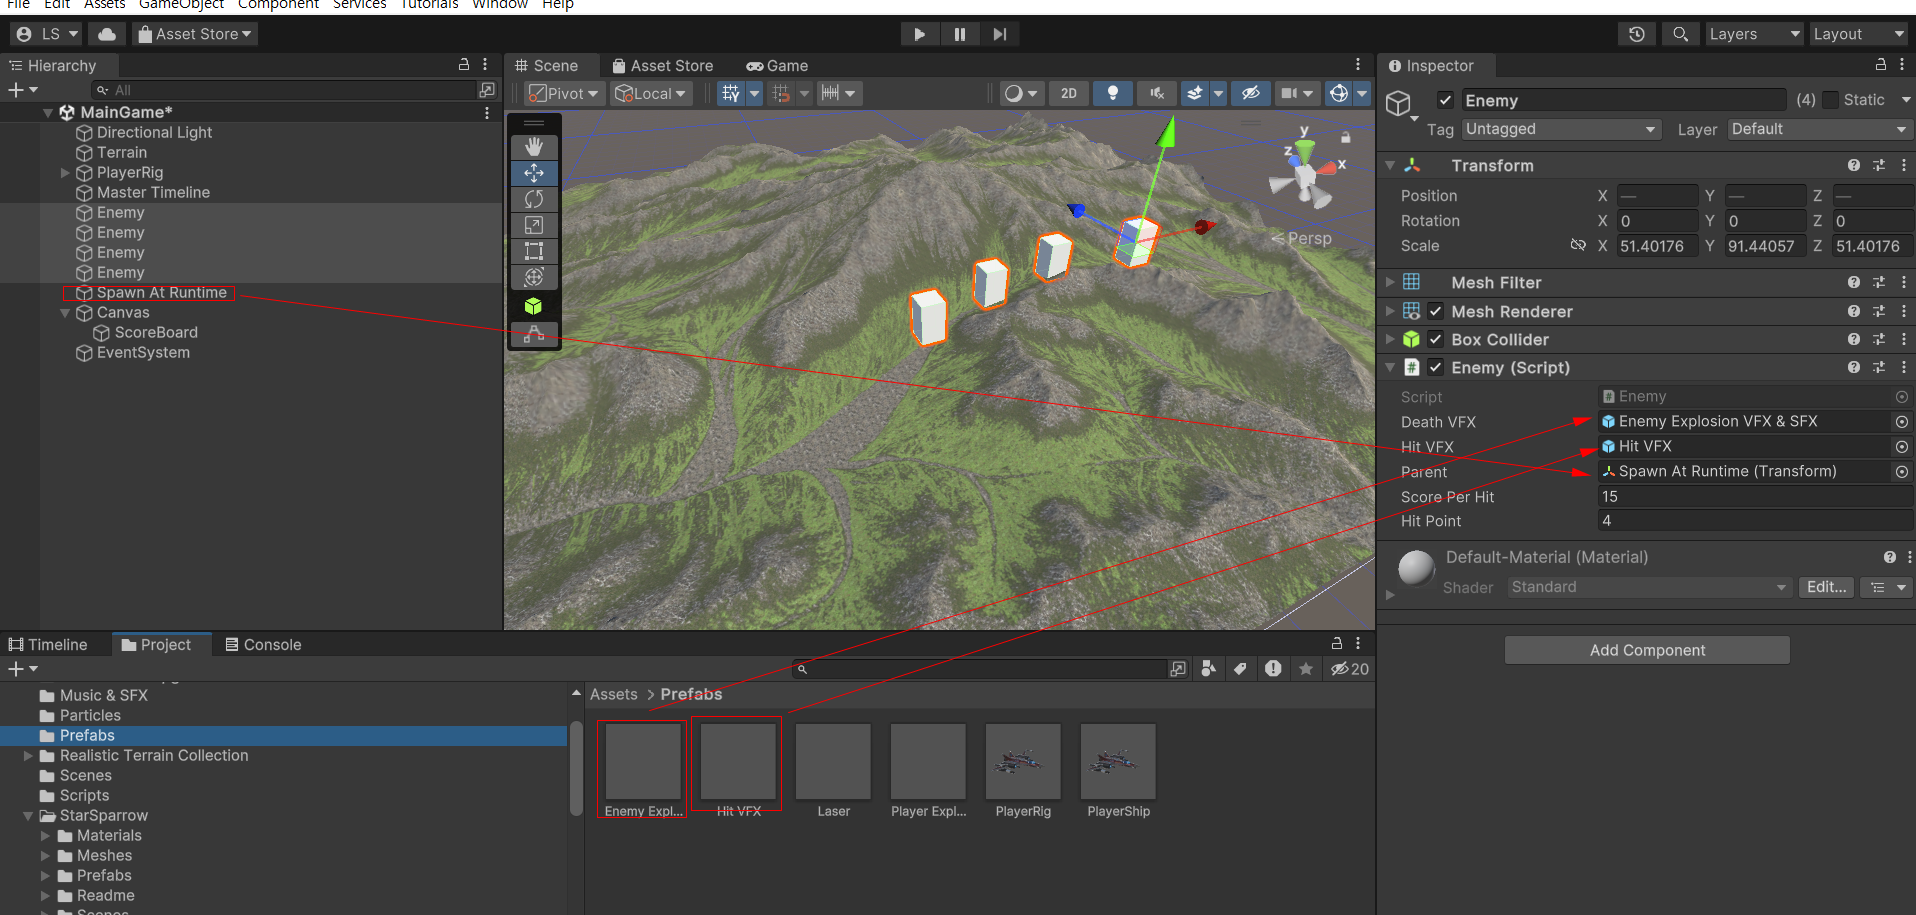
각각 Enemy 에 스크립트를 붙이고 아래그림과 같이 이팩트와 오브젝트를 붙입니다
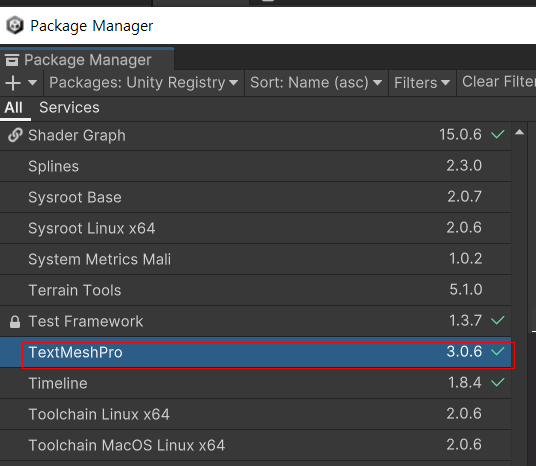
Package Manager 를 열고 TextMeshPro를 설치합니다
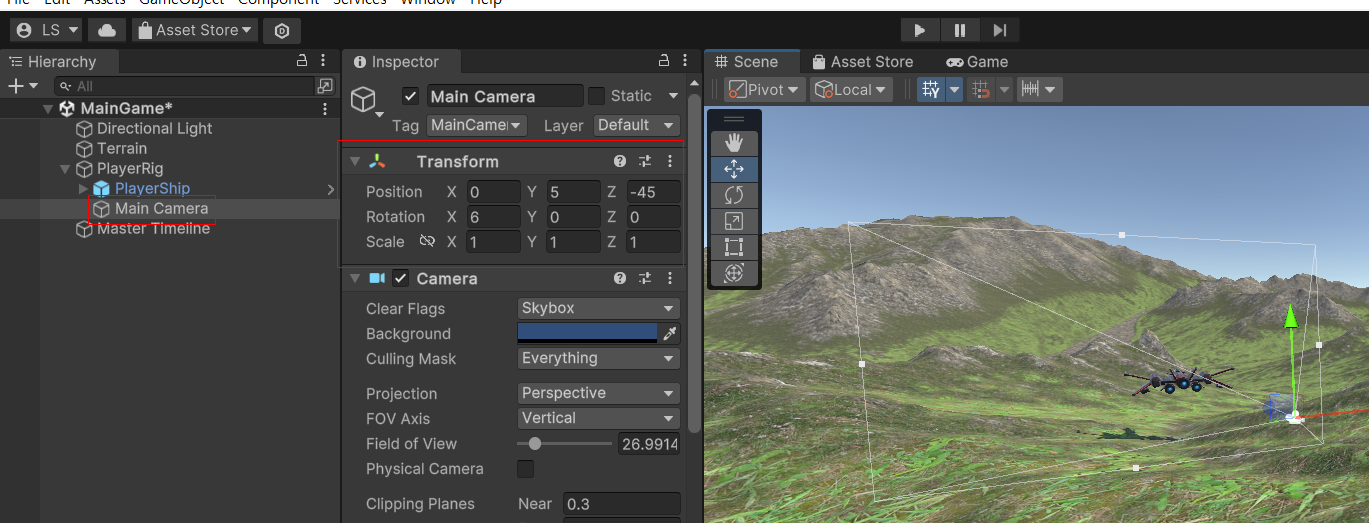
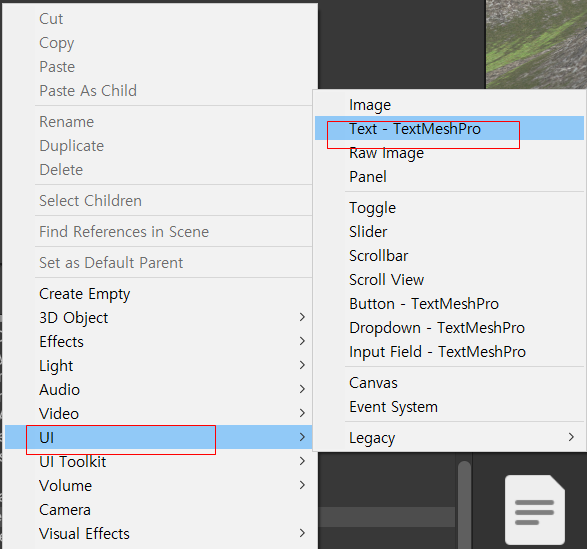
UI -> Text - TextMeshPro 를 실행합니다

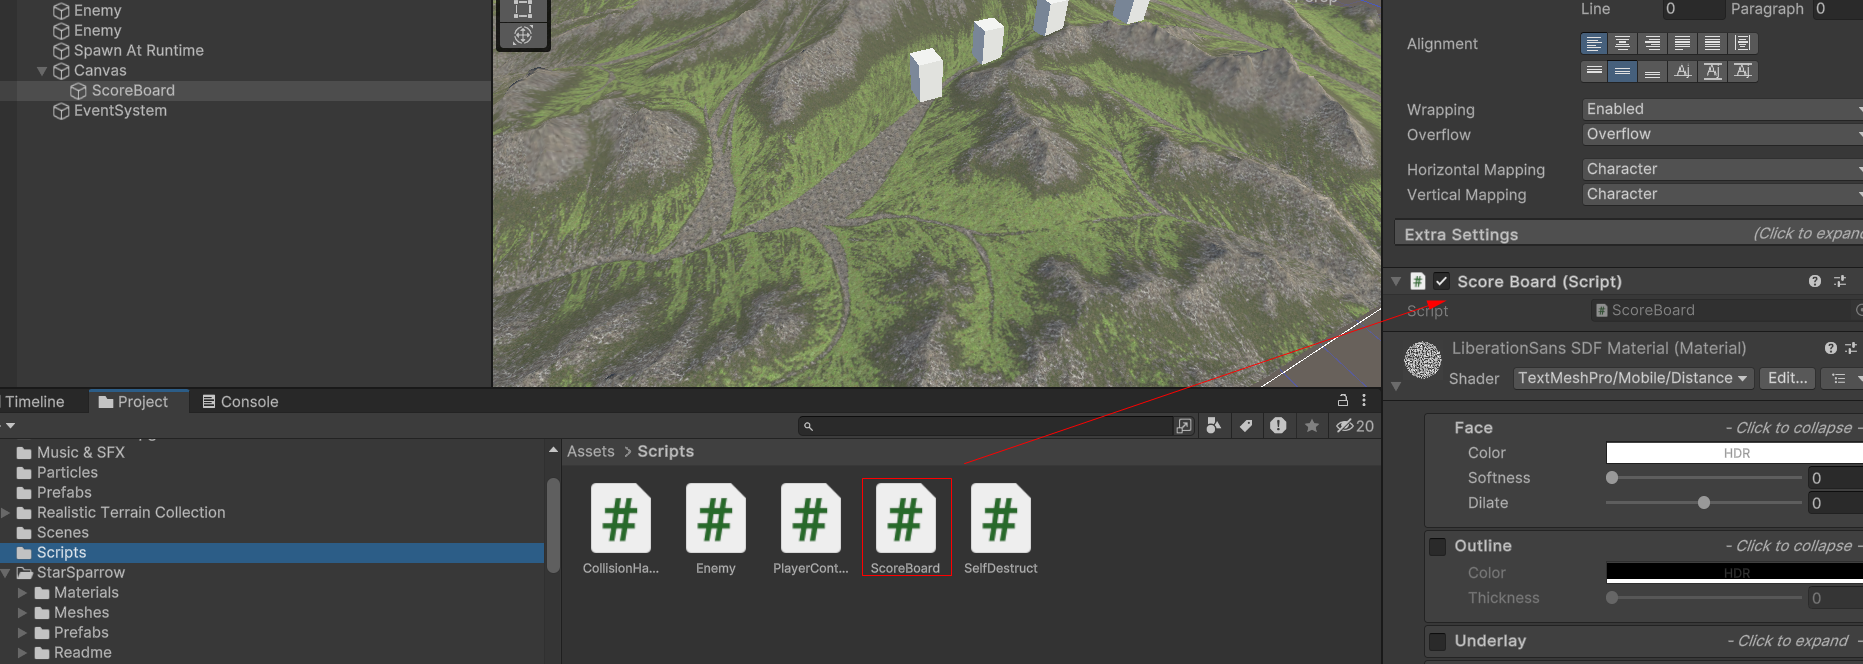
ScoreBoard 스크립트 작성
using System.Collections;
using System.Collections.Generic;
using UnityEngine;
using TMPro;
public class ScoreBoard : MonoBehaviour
{
int score;
TMP_Text scoreText;
private void Start()
{
scoreText = GetComponent<TMP_Text>();
scoreText.text = "Start";
}
public void IncreaseScore(int amountToIncrease)
{
score += amountToIncrease;
scoreText.text = score.ToString();
}
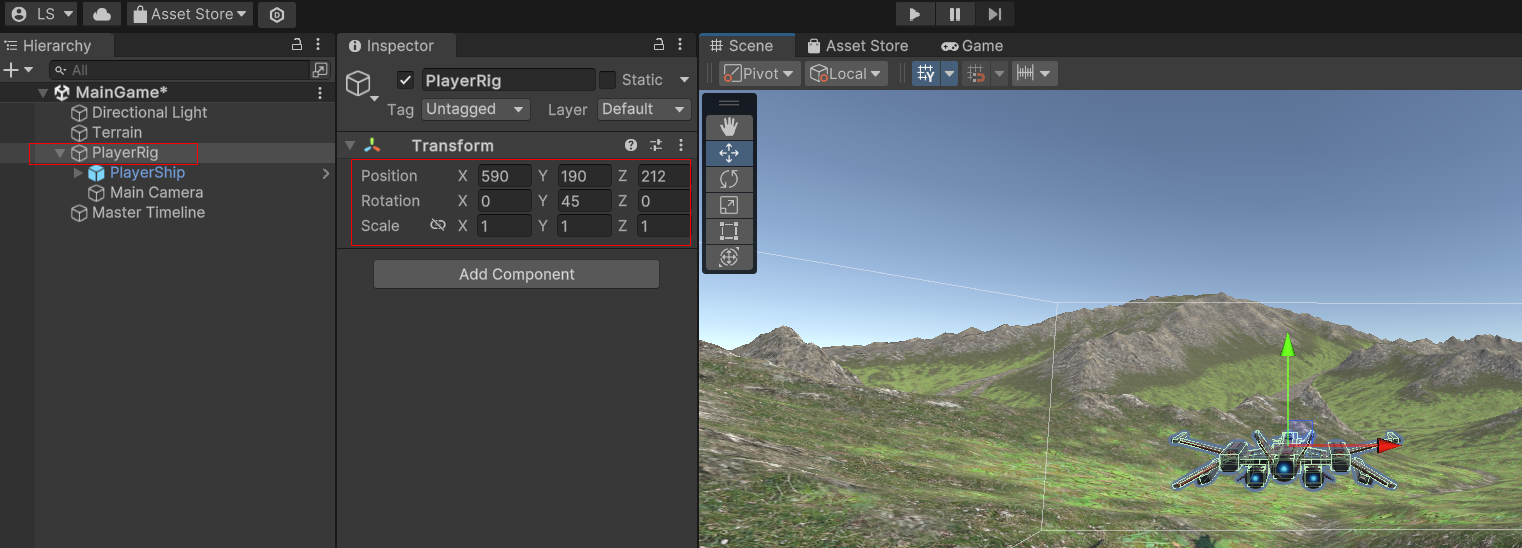
}Text 를 왼쪽 아랫단에 보이게 합니다

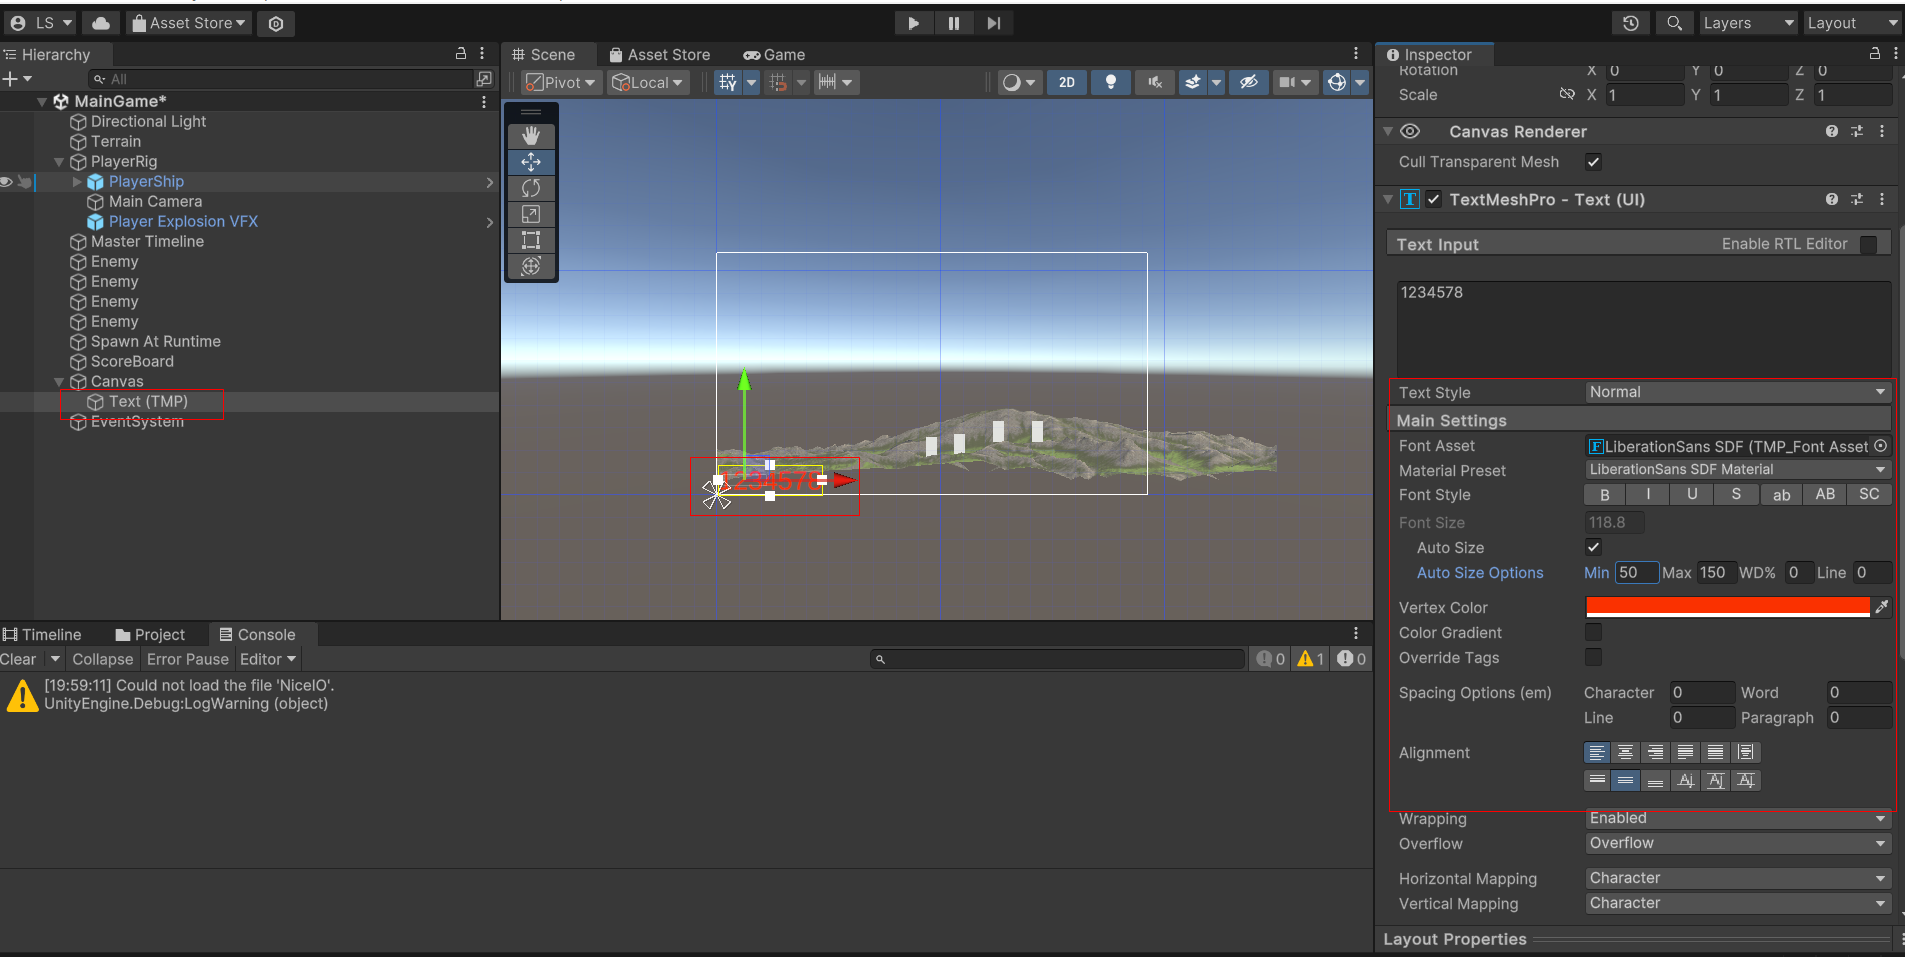
Canvas를 선택하고 Screen Space - Overlay 선택 Canvas Scaler -> Ui Scale Mode -> Scale with Screen Size , Reference Resolution X : 1920 Y: 1080으로 합니다

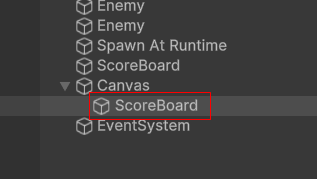
Text 이름을 ScoreBoard 로 합니다
ScoreBoard 스크립트를 붙힘니다
게임을 실행 시켜서 장애물을 파괴했을 때 점수와 이팩트가 잘 터지는지 확인합니다
게임자료
3DTimeLime_F.vol1.egg
10.00MB
3DTimeLime_F.vol2.egg
10.00MB
3DTimeLime_F.vol3.egg
9.75MB
반응형
'게임 만들기 강좌 > 3D TimeLine 비행기게임만들기' 카테고리의 다른 글
| 3D Timeline 활용 비행기 유니티 게임 만들기 2 (미사일 발사 및 게임 재실행) (0) | 2023.07.30 |
|---|---|
| 3D Timeline 활용 비행기 유니티 게임 만들기 1 (타임라인 비행기 운행) (0) | 2023.07.30 |